My Kitchen Always Smelled Like Peanut Butter
I remember the sweet, nutty smell filling my kitchen. My grandson needed a quick snack after soccer. Store bars were too sugary and expensive. So, we decided to make our own. Ever wondered how you could turn simple ingredients into a powerful snack? That first batch was a game-changer. We controlled what went in. It felt healthy, honest, and full of love.
The Great Sticky Fingers Incident
Our first try was a sticky mess. The honey and nut butter mixture was everywhere. It coated our hands and the spoon. We laughed so hard we almost forgot the recipe. That mess taught me a beautiful lesson. Home cooking is about the experience, not perfection. The bars still tasted wonderful. Now, I always grease my hands first. What was your last funny kitchen mistake?
Why These Bars Really Work
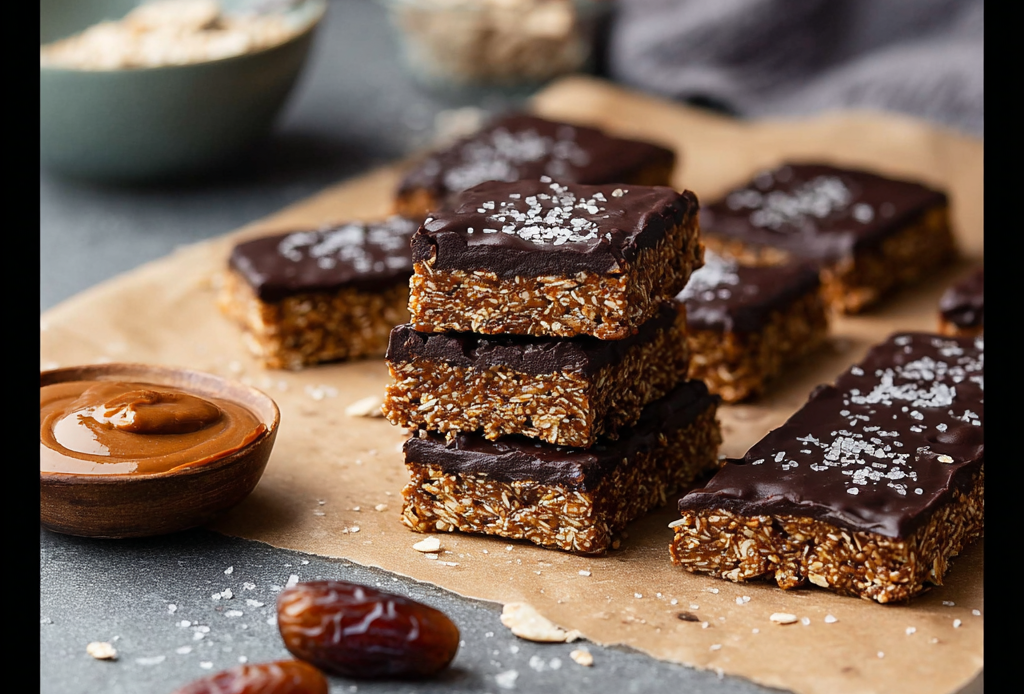
Two things make these bars special. First, the chewy oats against the crunchy nuts. Second, the sweet honey balancing the salty peanut butter. You can taste every good ingredient. It feels substantial and satisfying. Which flavor combo surprises you most? Is it the dark chocolate with sea salt? Or maybe the dried cherry and almond mix? Try your own twist. Share your favorite combo in the comments below.
A Snack Born From Necessity
These bars have practical roots. They came from hikers and athletes decades ago. People needed lasting energy on the go. They mixed what they had: grains, nuts, and sweet binders. It was simple, smart food. *Did you know early versions were called “pemmican bars”?* They were based on Native American travel food. Today, we make them for the same reason. They fuel our busy, modern lives perfectly.

Ingredients:
| Ingredient | Amount | Notes |
|---|---|---|
| Rolled oats | 1 ½ cups | |
| Vanilla protein powder | ½ cup | |
| Creamy peanut butter | ½ cup | |
| Honey | ⅓ cup | |
| Vanilla extract | 1 tsp | |
| Salt | ¼ tsp | |
| Mini chocolate chips | ¼ cup | Optional |
How to Make Your Own Protein Bars
Let’s make a simple, no-bake snack. These bars are perfect for busy days. You just need a bowl and a spoon. They will keep you full and happy.
Step 1 Gather all your ingredients and tools. You need a big mixing bowl. Also, line an 8-inch pan with parchment paper. This prevents the bars from sticking later. Step 2 Mix the dry stuff in your big bowl. Add the rolled oats and protein powder. Then, add the salt and stir it all up. This makes sure every bite is tasty. Step 3 Now, mix the wet ingredients together. Warm the peanut butter and honey slightly. This makes them easier to stir. Add the vanilla extract to this mixture. Step 4 Pour the wet mix into the dry mix. Stir everything until it is fully combined. The dough will be very thick and sticky. (A hard-learned tip: Use your hands for the final mix!). Step 5 Fold in the mini chocolate chips now. Press the dough firmly into your lined pan. Make the top even with the back of a spoon. This helps the bars hold their shape. Step 6 Let the pan chill in the fridge. Wait at least two hours for it to set. Then, lift the slab out using the paper. Cut it into bars or squares. What is the best way to store these bars? Share below! Cook Time: 2 hours (chilling) Total Time: 2 hours 15 minutes Yield: 10 bars Category: Snack, No-BakeTry These Tasty Twists
This recipe is a wonderful starting point. You can easily change the flavors. Try one of these fun spins for something new.
Tropical Twist Use almond butter instead of peanut butter. Add chopped dried mango and coconut flakes. Skip the chocolate chips for this version. Cookie Dough Delight Use chocolate protein powder for a change. Mix in mini white chocolate chips. It will taste like safe-to-eat cookie dough. Nutty Crunch Swap half the oats for crispy rice cereal. Add a handful of chopped almonds too. This gives a fantastic crunchy texture. Which spin would you try first? Tell me in the comments!Serving Your Homemade Bars
These bars are great all on their own. But you can make them a full treat. Here are a few simple serving ideas for you.
Serve one with a side of fresh berries. A dollop of Greek yogurt also pairs well. For a fun garnish, drizzle with melted dark chocolate. Wash it down with a cold glass of milk. That is my favorite non-alcoholic match. A creamy coffee stout beer is a nice adult pairing. Which would you choose tonight, the milk or the stout?
Keep Your Bars Fresh and Ready
Store your bars in the fridge. They stay good for up to two weeks. You can also freeze them for three months. Wrap each bar in parchment paper first. This stops them from sticking together.
I always make a double batch on Sunday. It saves so much time during the week. My grandson grabs one before soccer practice. Knowing what’s in your snack matters. You control the sugar and quality.
Do you prefer fridge or freezer storage? Let me know your method below!
Quick Fixes for Common Hiccups
Is your mixture too dry and crumbly? Add a tiny bit more honey or peanut butter. One teaspoon can make all the difference. Is the dough too sticky to handle? Chill it for twenty minutes first. Your hands will thank you.
Are the bars falling apart when you cut them? They likely need more chilling time. Pop the pan back in the fridge for an hour. A sharp knife also helps for clean cuts. This ensures you get perfect bars every time.
Your Protein Bar Questions Answered
Can I make these gluten-free? Yes, use certified gluten-free oats. Check your protein powder label too. Then you are all set for a safe treat.
How far ahead can I make them? They are perfect for making ahead. Follow the storage tips above. They will be ready when you need them.
What can I swap for the peanut butter? Any nut or seed butter works well. Almond butter or sunflower butter are great choices. The bars will still hold together nicely.
Can I double this recipe? Absolutely, just use a bigger bowl. You might need to mix with your hands. Press the dough into a larger pan.
Are the chocolate chips necessary? Not at all, they are just for fun. You can leave them out or use raisins. *Fun fact: My husband prefers them without!*
Wrapping It All Up
I hope you love this simple recipe. It is a staple in my own kitchen. Making your own food is a powerful act. You choose good ingredients for your body.
Share a photo of your bars and tag Savory Discovery on Pinterest. I would love to see your tasty creations.


Homemade Protein Bar Preparation
Description
A simple, no-bake recipe for homemade protein bars, perfect for a healthy snack or breakfast on the go.
Ingredients
Instructions
- Gather all your ingredients and tools. You need a big mixing bowl. Also, line an 8-inch pan with parchment paper. This prevents the bars from sticking later.
- Mix the dry stuff in your big bowl. Add the rolled oats and protein powder. Then, add the salt and stir it all up. This makes sure every bite is tasty.
- Now, mix the wet ingredients together. Warm the peanut butter and honey slightly. This makes them easier to stir. Add the vanilla extract to this mixture.
- Pour the wet mix into the dry mix. Stir everything until it is fully combined. The dough will be very thick and sticky. (A hard-learned tip: Use your hands for the final mix!).
- Fold in the mini chocolate chips now. Press the dough firmly into your lined pan. Make the top even with the back of a spoon. This helps the bars hold their shape.
- Let the pan chill in the fridge. Wait at least two hours for it to set. Then, lift the slab out using the paper. Cut it into bars or squares.
Notes
- Store bars in an airtight container in the refrigerator for up to a week, or freeze for longer storage.


