The First Bite
I remember my first homemade peanut butter cup. It was pure magic. The chocolate shell cracked with a gentle snap. Then, the creamy peanut butter filling melted on my tongue. That moment made me a believer for life. Ever wondered how you could turn a simple candy into something unforgettable? You just need two main ingredients and a little love. Making them yourself feels like a small, sweet victory. It is easier than you might think too. Let me tell you how my own journey began.
My Kitchen Adventure
My first try was a bit messy. I was so excited that I rushed. I poured the chocolate before the liners were ready. A few cups stuck to the paper wrappers. We ate them anyway with spoons, laughing. That mess taught me a beautiful lesson. Home cooking is about the joy in the process, not perfection. A little imperfection makes the best memories. It is about creating something with your own hands. That always tastes sweeter than anything from a store.
Why They Taste So Good
Two things make these treats special. First, the contrast between smooth filling and crisp chocolate. Second, you control the saltiness of the peanut butter. You can use dark, milk, or even white chocolate. Have you tried adding a sprinkle of sea salt on top? It makes the flavors pop in a wonderful way. Which flavor combo surprises you most: dark chocolate with sea salt or milk chocolate with honey? Tell me in the comments below. I love hearing your creative ideas.
A Sweet History
This candy has classic American roots. A man named H.B. Reese invented them in the 1920s. He worked on a dairy farm for Milton Hershey. That is how the famous candy partnership began. He started making the cups in his basement. *Did you know the original recipe used Hershey’s chocolate?* Now we can all be inventors in our own kitchens. What family recipe would you love to learn next? Share your thoughts with me. Let us keep the tradition of homemade treats alive.

Ingredients:
| Ingredient | Amount | Notes |
|---|---|---|
| Milk chocolate chips | 2 cups | |
| Creamy peanut butter | 1 cup | |
| Powdered sugar | 1/2 cup | |
| Unsalted butter | 1/4 cup | Softened |
| Sea salt | 1/4 teaspoon | Optional, for garnish |
Let’s Make Some Magic
Making these treats is simple fun. You just need a muffin tin and paper liners. Let’s get started with the chocolate first.
Step 1 Melt one cup of chocolate chips slowly. Use a microwave or a double boiler. Stir it until it is completely smooth. Line your muffin tin with paper liners now. Step 2 Spoon a little melted chocolate into each liner. Spread it up the sides with a spoon. This makes a cup for your filling. Then put the tray in the freezer for ten minutes. Step 3 Mix the peanut butter, powdered sugar, and soft butter. Stir until it is creamy and smooth. This sweet filling is the heart of the cup. (My hard-learned tip: room temperature butter mixes in best!). Step 4 Add small spoonfuls of filling to each chocolate cup. Press it down gently with your fingers. Leave a little space at the top for more chocolate. Melt the second cup of chocolate chips now. Step 5 Pour the final chocolate layer over the peanut butter. Spread it to seal the edges completely. A tiny sprinkle of sea salt looks lovely. Freeze the whole tray again until firm. What is the key to a perfect chocolate seal? Share below! Cook Time: 25 minutes Total Time: 1 hour 15 minutes (with chilling) Yield: 12 peanut butter cups Category: Dessert, CandyMake It Your Own
These cups are a wonderful blank canvas. Try one of these easy spins for a new twist. Your family will beg you to make them again.
Crunchy Time Swap creamy peanut butter for the crunchy kind. You can also stir in crushed pretzels. It adds a fantastic salty crunch. Dark Chocolate Dream Use dark chocolate chips instead of milk chocolate. The bitter taste pairs well with the sweet filling. It feels a bit more grown-up. Cookie Dunch Swirl Add a spoonful of cookie butter to the peanut butter. Do not mix it all the way. You will get a pretty, swirled filling. Which creative spin will you try first? Vote in the comments!Serving with Style
These homemade cups deserve a special presentation. Place them on a pretty plate for dessert. They are perfect for a party or a quiet treat.
Serve them with fresh berries like strawberries. A scoop of vanilla ice cream is also perfect. For a fun garnish, drizzle extra melted chocolate on top. Pair them with a glass of cold milk. That is the classic choice. For a grown-up drink, try a glass of bourbon or port wine. The flavors match beautifully. Which would you choose tonight: the milk or the bourbon?
Keep Them Fresh and Tasty
Store your peanut butter cups in the fridge. They stay firm and last about two weeks. You can also freeze them for three months. Just thaw them for ten minutes before eating. I always make a double batch for surprise guests.
Quick Fixes for Common Hiccups
Is your chocolate too thick? Add a teaspoon of coconut oil. This helps it melt smoothly. Did the layers mix together? Your first chocolate layer was not set enough. Freeze it until completely firm. Is the filling too sticky? Chill it for fifteen minutes first. It will be much easier to handle.
Your Questions, Answered
Can I make these gluten-free? Yes, they are naturally gluten-free. Just check your peanut butter label. Some brands add wheat. How far ahead can I make them? They are perfect for making ahead. Prepare them up to three days before your event. What is a good nut-free swap? Use sunflower seed butter instead. The taste and texture are very similar. Can I double the recipe? Absolutely, just use two muffin tins. The steps are exactly the same. Do I have to use paper liners? Liners prevent sticking. A light spray of oil can work too. What is your favorite kitchen shortcut?Happy Treat Making
I hope you love making these sweet treats. Sharing homemade candy brings so much joy. It is a simple pleasure. *Fun fact: My grandkids call these “Grandma’s gold coins.”* I would love to see your creations. Please share your photos and tag Savory Discovery on Pinterest.


Homemade Peanut Butter Cups
Description
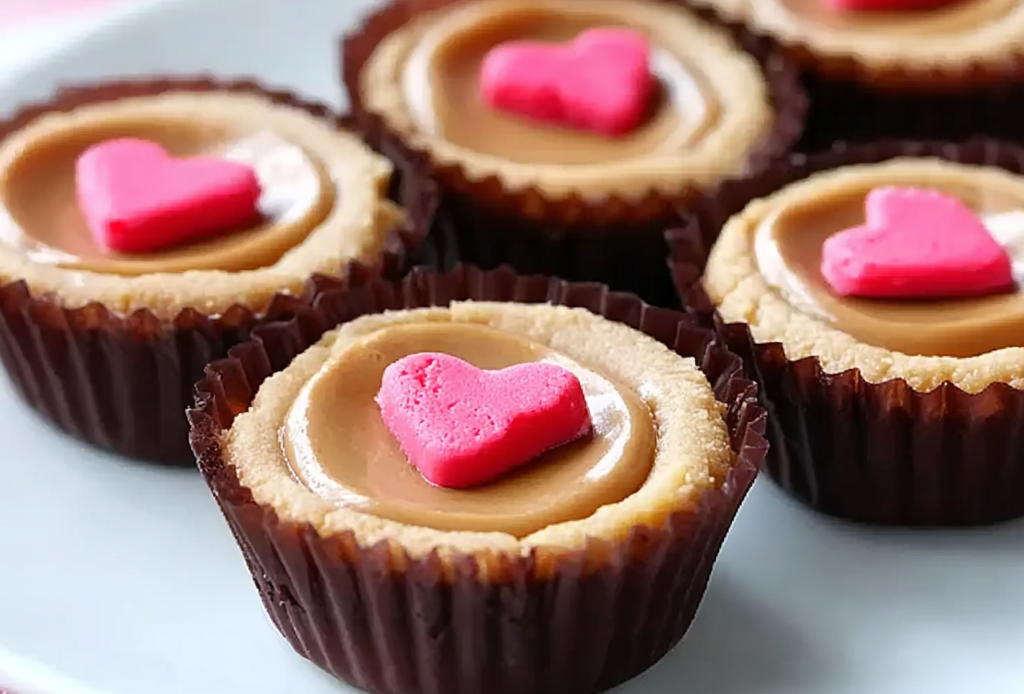
Classic homemade candy with a rich chocolate shell and a sweet, creamy peanut butter center.
Ingredients
Instructions
- Melt 1 cup of the chocolate chips slowly using a microwave or double boiler, stirring until completely smooth. Line a muffin tin with paper liners.
- Spoon a little melted chocolate into each liner and spread it up the sides with a spoon to form a cup. Place the tray in the freezer for 10 minutes.
- Mix the peanut butter, powdered sugar, and softened butter together until creamy and smooth.
- Add small spoonfuls of the peanut butter filling to each chilled chocolate cup, pressing it down gently. Leave a little space at the top. Melt the remaining 1 cup of chocolate chips.
- Pour the final melted chocolate over the peanut butter filling, spreading it to seal the edges completely. Optionally, sprinkle with a tiny bit of sea salt. Freeze the tray again until firm.
Notes
- Store in an airtight container in the refrigerator for up to 2 weeks.


