Why This Dessert Stole My Heart
The first bite was pure magic. A rich brownie met a cloud of chocolate fluff. It felt like a hug from the inside. I knew I needed this recipe in my life. Ever wondered how to make a good day feel like a celebration? This dessert is my answer. It turns any Tuesday into something sweet. The contrast is simply joyful. One pan gives you two amazing treats. It is a special trick for any home cook.
My First Kitchen Adventure With It
My first try was a little messy. I was so excited to whip the mousse. I may have gotten chocolate on the ceiling! The result was still delicious. That is the real beauty of home baking. It reminds you that perfection is not the goal. Sharing something made with your own hands is. A small mess means memories are being made. The smiles around your table are what truly matter. What was your last happy kitchen accident?
What Makes The Taste So Good
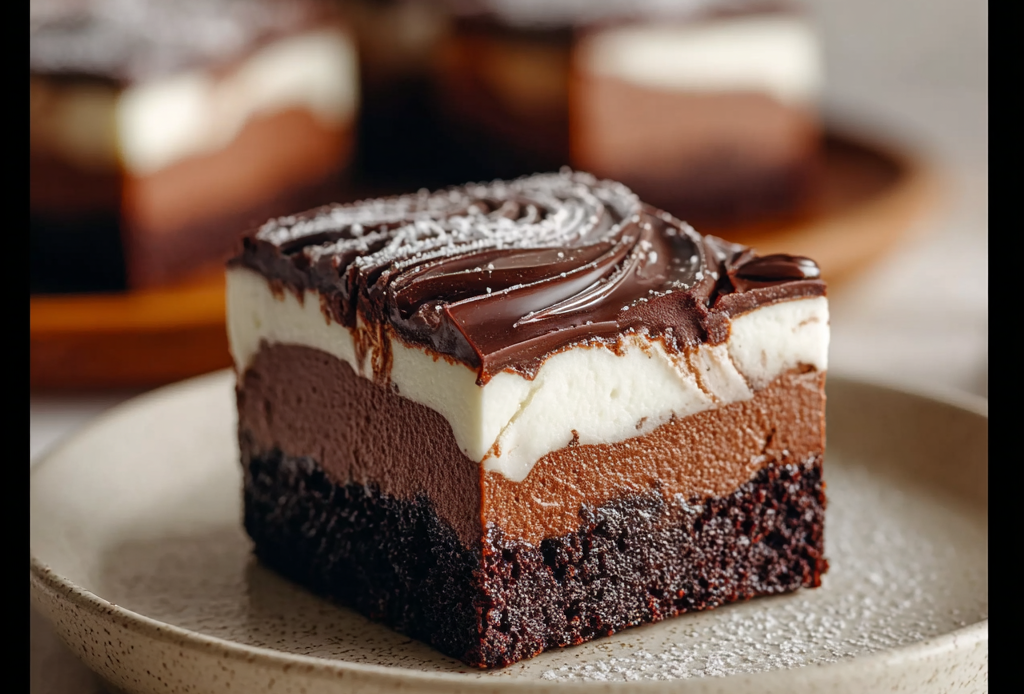
Let us talk about why this works so well. First, you get a dense, fudgy brownie base. It is deeply chocolatey and satisfying. Then, a light and airy mousse layer floats on top. This combo is a textural dream. Which flavor combo surprises you most: rich and dense or light and fluffy? I love how they play together. Each bite is a little different. It keeps your taste buds interested and happy. Try it and see what you think.
A Sweet Slice Of History
This is a modern twist on two classics. Brownies are an American invention from the late 1800s. Chocolate mousse has French roots, meaning “foam” or “froth.” Putting them together is a newer, genius idea. It combines comfort food with a touch of elegance. *Did you know the first brownie recipe was published in a cookbook in 1896?* This recipe honors that long history of chocolate joy. It brings a bit of bakery style right to your kitchen. Will you be the one to make it for your family next?

Ingredients:
| Ingredient | Amount | Notes |
|---|---|---|
| Brownie layer | ||
| Unsalted butter | ½ cup (115g) | Melted |
| Granulated sugar | 1 cup (200g) | |
| Large eggs | 2 | Room temperature |
| Vanilla extract | 1 teaspoon | |
| Unsweetened cocoa powder | ⅓ cup (30g) | |
| All-purpose flour | ½ cup (63g) | |
| Salt | ¼ teaspoon | |
| Chocolate mousse layer | ||
| Semi-sweet chocolate chips | 1 cup (170g) | |
| Heavy whipping cream | 1 ½ cups (360ml) | Divided |
| Powdered sugar | ¼ cup (30g) | |
| Vanilla extract | 1 teaspoon | |
| For garnish (optional) | ||
| Chocolate shavings | As needed | |
| Whipped cream | As needed |
How to Make Chocolate Mousse Brownies
Let’s make a treat that is pure joy. First, we bake a simple brownie base. Then, we top it with dreamy chocolate mousse. The result is a perfect two-layer dessert. It looks fancy but is quite easy. You just need a bowl and a whisk. Follow these steps for a sure success.
Step 1 Make the brownie layer first. Preheat your oven to 350°F. Grease an 8×8 inch baking pan. Mix melted butter and sugar in a bowl. Add the eggs and vanilla. Stir it all until smooth. Step 2 Add the cocoa, flour, and salt to the bowl. Stir just until you see no dry spots. (A hard-learned tip: Do not overmix the batter. This keeps the brownies nice and fudgy). Pour the batter into your prepared pan. Bake for 20 to 25 minutes. Let it cool completely. Step 3 Now, make the mousse layer. Melt the chocolate chips gently. Let the melted chocolate cool a little. Whip one cup of the heavy cream until stiff peaks form. Gently fold the whipped cream into the chocolate. Step 4 Whip the remaining cream with powdered sugar and vanilla. Fold this into the chocolate mixture too. Spread the mousse over the cooled brownie base. Chill for at least three hours. Garnish with chocolate shavings before serving. Why should you let melted chocolate cool before adding whipped cream? Share below! Cook Time: 25 minutes Total Time: 4 hours Yield: 9 servings Category: Dessert, BrowniesThree Fun Twists on the Classic
This recipe is a wonderful starting point. You can easily make it your own. Try one of these simple spins for a new flavor. Each one adds a little surprise. *Fun fact: Adding a pinch of salt to chocolate makes it taste richer.*
Mint Chocolate Chip Add a half teaspoon of peppermint extract to the mousse. Fold in mini chocolate chips before spreading. Rocky Road Press mini marshmallows into the warm brownie right after baking. Sprinkle chopped walnuts on top of the mousse. Orange Zest Add the zest of one orange to the brownie batter. It gives a bright, fresh flavor. Which twist would you try first? Vote for your favorite in the comments!Serving Your Masterpiece
These brownies are rich and delightful. A small square is very satisfying. For a special plate, add a dollop of extra whipped cream. A few fresh raspberries add a pretty, tart contrast. It cuts through the sweetness nicely.
For drinks, I love a cold glass of milk. It is the classic pairing. For a grown-up treat, a small glass of port wine is lovely. Its sweetness matches the chocolate. Which would you choose tonight: the milk or the port?
Storing Your Chocolate Mousse Brownies
Keep these brownies covered in the fridge. They stay fresh for up to four days. You can also freeze them for one month. Thaw slices in the fridge overnight. I do not recommend reheating the mousse layer. It is best served cold and creamy. *Fun fact: A chilled knife cuts cleaner slices.* For a party, bake the brownie base a day ahead. Just add the mousse the next morning.
Quick Fixes for Common Hiccups
Is your mousse too runny? Your cream may not have been whipped enough. Chill the bowl and beaters first next time. Did the brownies turn out cakey? You likely over-mixed the batter. Stir just until the flour disappears. Is the mousse layer grainy? Your melted chocolate was probably too hot. Always let it cool slightly before folding. These simple fixes ensure perfect results every single time.
Your Questions, Answered
Can I make these gluten-free? Yes, use a gluten-free flour blend. Make sure your cocoa powder is certified gluten-free too. How far ahead can I make them? You can assemble the whole dessert two days ahead. The flavor actually gets better as it chills. What is a good butter swap? Use an equal amount of coconut oil. It will give a slight coconut flavor, though. Can I double the recipe? Absolutely! Use a 9×13 inch pan. You may need to bake the brownie layer a few minutes longer. My mousse split. What now? Gently fold in a spoonful of extra whipped cream. This can often bring it back together. What other kitchen puzzles can I help you solve?A Final Sweet Note
I hope this recipe brings joy to your table. Sharing homemade treats creates the best memories. My grandkids always ask for these on their visits. I would love to see your creation. Tag Savory Discovery on Pinterest with your photos!


Chocolate Mousse Brownie Instructions
Description
Experience the ultimate dessert with this Chocolate Mousse Brownie, featuring a fudgy brownie base topped with a light and creamy chocolate mousse.
Ingredients
Brownie Layer
Chocolate Mousse Layer
For Garnish (optional)
Instructions
- Make the brownie layer. Preheat your oven to 350°F. Grease an 8×8 inch baking pan.
- In a bowl, mix the melted butter and granulated sugar. Add the eggs and vanilla extract, and stir until smooth.
- Add the cocoa powder, flour, and salt to the bowl. Stir just until no dry spots remain. Do not overmix.
- Pour the batter into the prepared pan. Bake for 20 to 25 minutes. Let the brownie layer cool completely.
- Make the mousse layer. Melt the chocolate chips gently and let the melted chocolate cool slightly.
- Whip 1 cup of the heavy cream until stiff peaks form. Gently fold the whipped cream into the cooled chocolate.
- Whip the remaining ½ cup of heavy cream with the powdered sugar and vanilla extract. Fold this into the chocolate mixture.
- Spread the mousse evenly over the completely cooled brownie base.
- Chill for at least three hours. Garnish with chocolate shavings before serving.


